Report Settings
On this section, shown below, you can choose report options, reset the run parameters selected for the run, whether to save the scenario for future re-use or reference, and to proceed to run the estimate.
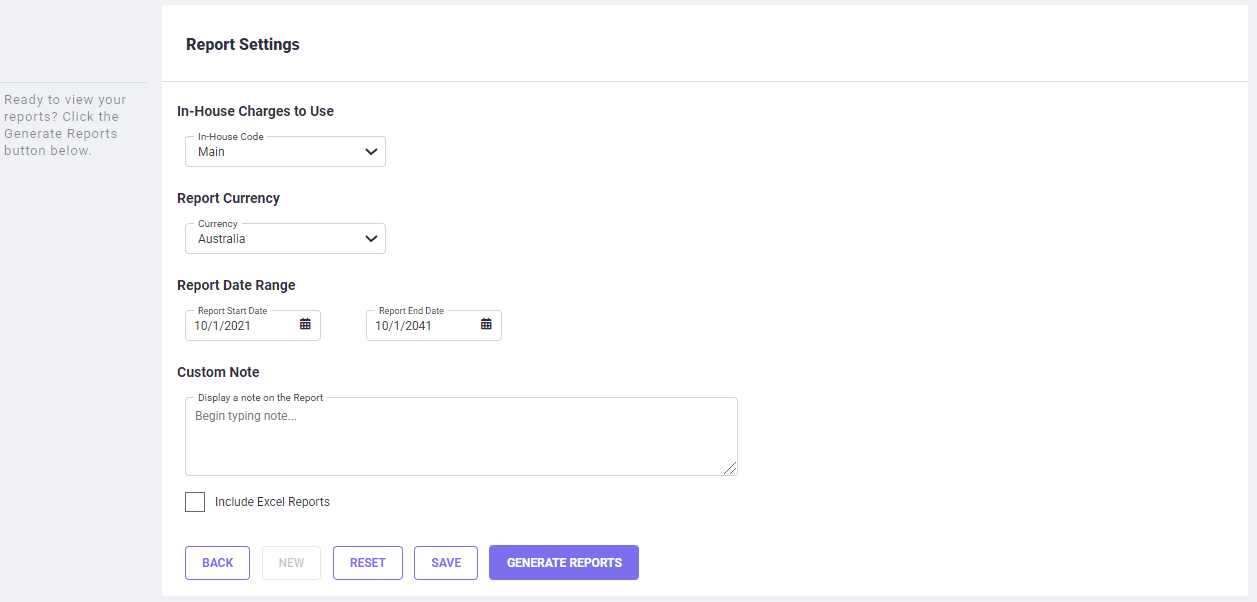
In-House Charges to Use: Depending on the default In-House Charges set defined for the application type in the Settings=>In-House Charges, the In-House Code is displayed under this sub-section. You can change the In-House Charges set to use for the calculation. Click on the drop-down arrow in the 'In-House Code' field and select a different In-House Code for the run.
Report Currency: By default, the currency used for estimate reports is the one selected under the Currency Settings for Reports in Settings=>Calculation Settings. You can choose a different report currency for your run from this screen; the report will be generated in the currency chosen. The program will use this currency for all your estimates till you logout from the program. To have all reports generated in a specific currency, you will need to change the report currency option on the Calculation Settings screen.
Report Date Range: This sub-section is only for patent estimates and allows you to select the years for beginning and ending of display of the costs in the patent estimate reports. Costs in the estimate reports will be included from the report start date and will be excluded after the report end date. By default, the report start date is the current date and the report end date is 20 years from the report start date. Click on the respective fields to change the report start and end dates.
Custom Note: You can include in this field a custom note which will be displayed on the estimate reports. The custom note will be displayed on the top sections of the Condensed and Summary Reports. It will not be included in the Detailed Report.
Include Excel Reports: You also can generate spreadsheet reports in Microsoft Excel format. This feature uses the Timeline information set by the user in the Timeline Settings under the Settings and system-supplied information to allocate the costs calculated by the program to particular years in the future. Select the checkbox to include Excel reports.
Manage Report Settings: Clicking on the setting icon on the top right of this section will take you to the Report Settings screen under Settings=>Report Defaults where you can define the report parameters for all your estimate runs.
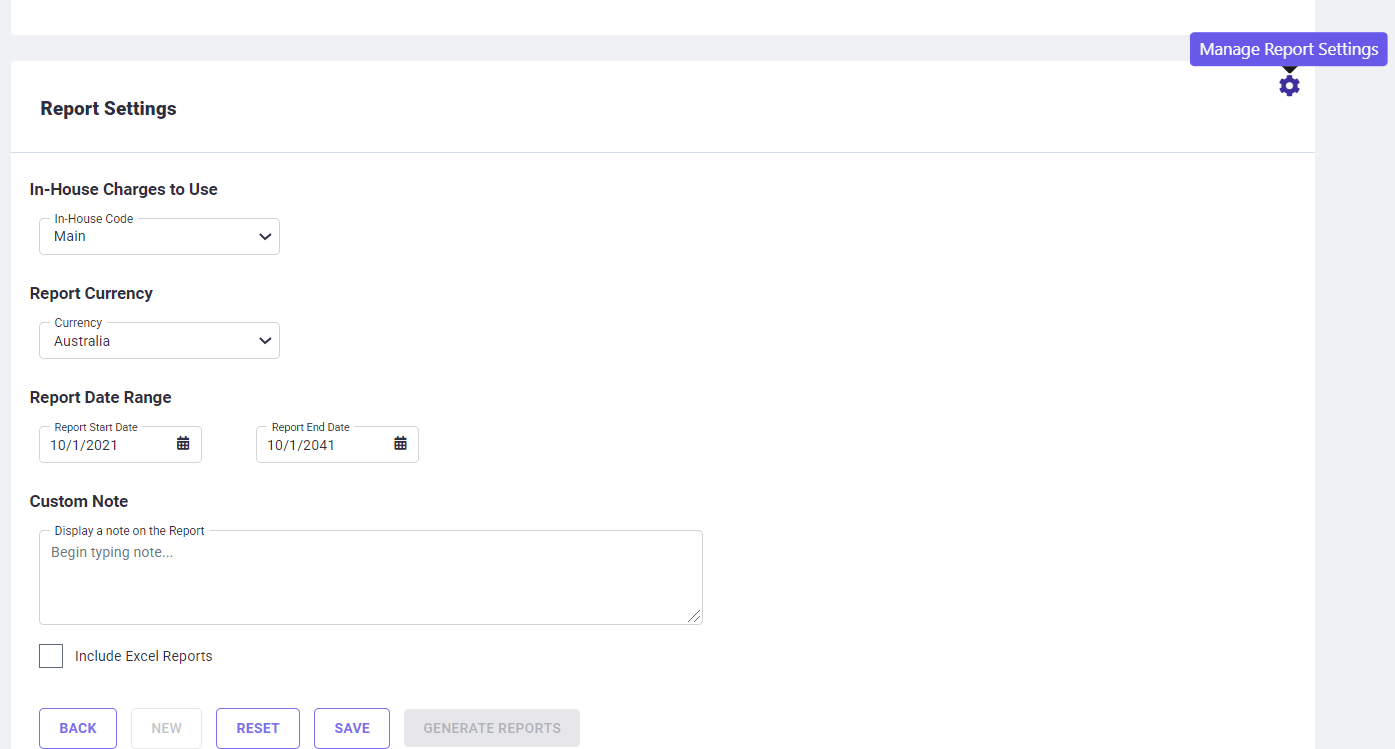
Back Button: The BACK button is available if you want to go back and select some other application type for the run. Clicking on the BACK button will take you back to the Choose an Estimate Type page without generating the report.
New Button: If you are using a saved scenario for the run and you want to reset and create a new scenario, click on the NEW button at the bottom of this section. A new scenario can then be created instead of using the saved scenario.
Reset Button: After entering all details and before generating the report if you decide you wish to make changes to the application information, choose the RESET button to start over with user saved defaults.
Save Button: If you wish to re-use the information included in this estimate, you should save it as a Scenario for future use. The SAVE button allows you to save the information you have entered in the first four steps by specifying a scenario name and description, choosing where to save the scenario (either in the User List or the Group List). Even if a scenario is not saved, it will be available for 24 hours for re-use at no additional charge.
Clicking on the SAVE button opens the Scenario Information screen where you can enter the Scenario name, description and select to save Scenario in the User List and/or in the Group List. Click on the SAVE SCENARIO button on this screen to save your changes and return to the previous screen.
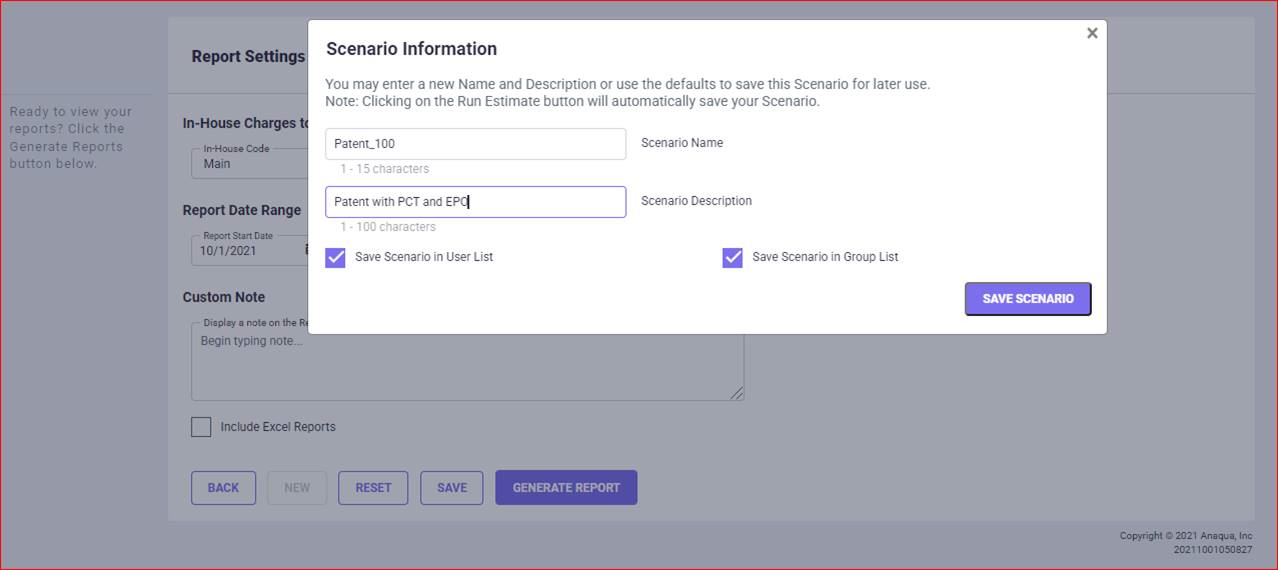
Scenario Name: By default, a Scenario id number is added in this field. You can change this to a scenario name consisting of 1-15 characters for later reference.
Scenario Description: Enter a description consisting of 1-100 characters in the 'Scenario Description' field.
Save Scenario in User List: Select the 'Save Scenario in User List' checkbox if you wish it to be available for individual use only.
Save Scenario in Group List: Select the 'Save Scenario in Group List' checkbox if you wish it to be available for use by all members of the group.
Generate Reports: After entering all details on the screen, click on the GENERATE REPORT button to generate the estimate report. Once you have clicked the GENERATE REPORT button, your account will be charged for an estimate.